[Kevin Hunckler] recently did some in-house manufacturing for a product and shared his experiences in adding high-quality custom graphic overlays or acrylic panels to give the finished units a professional look. The results look great and were easy to apply, making his product more attractive without needing much assembly work.
Sadly, when doing initial research he was disappointed to find very little information on the whole process. While in the end it isn’t terribly complex, it still involved a lot of trial and error before he zeroed in on what the suppliers in the industry expect. Fortunately, everything can be done with tools most hackers probably already have access to. Label
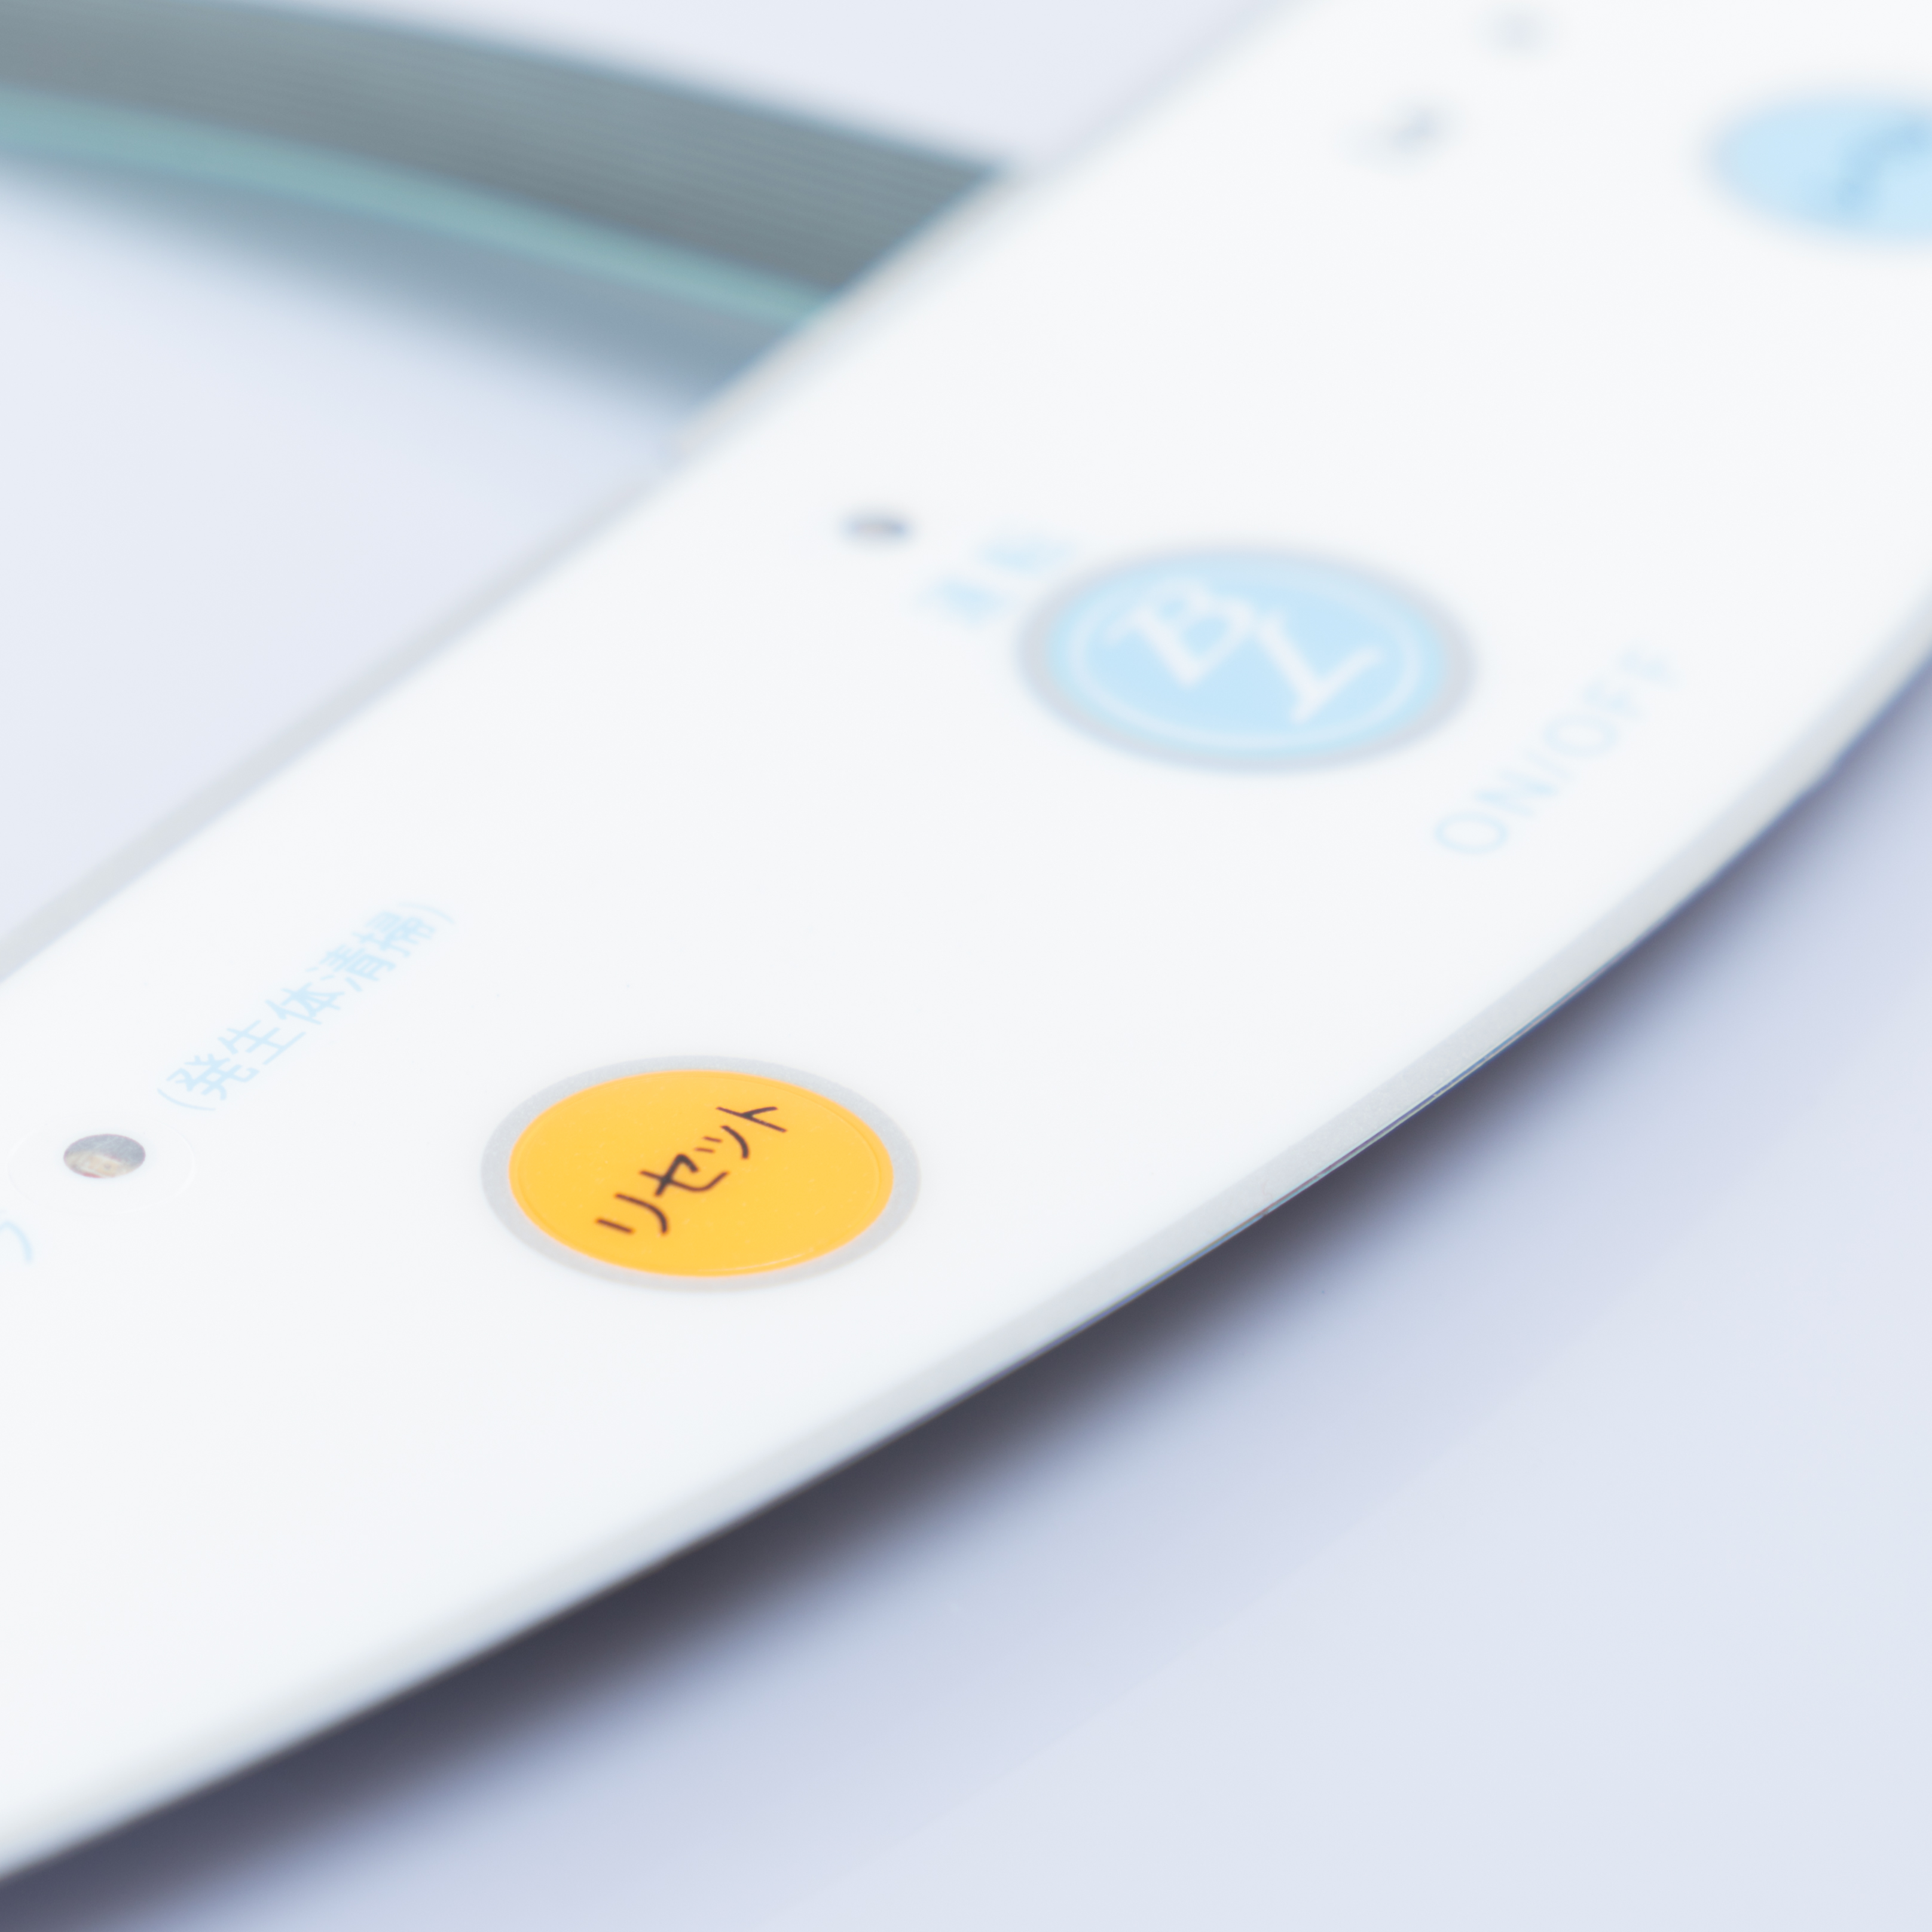
The process seems to us somewhat reminiscent of having PCBs manufactured. One defines the product housing, outlines the overlay, creates the artwork, defines an adhesive layer, and makes a design document explaining each layer and important feature. [Kevin] provides examples of his work, one of which fits an off-the-shelf Hammond enclosure.
Professionally-made acrylic panels or graphic overlays is something worth keeping in mind for hobbyists and those who might engage in desktop manufacturing, as long as the costs are acceptable. Rather like PCBs, costs go down as quantities go up. [Kevin]’s 50 mm x 50 mm overlay cost about 1 USD each in quantity 200, but only 0.50 USD each when buying 500.
These may be great for low or middling quantities, but that doesn’t mean one is out of options for prototypes or micro quantities. We have seen fantastic results adding full-color images to 3D prints, and even using a 3D printer to draw labels directly onto prints.
A good and not that much laborious way is using laser-engraving.
Take an acrylic sheet. Spraypaint it black from the back side. Engrave through the paint. Fill the grooves with white (or other) paint. Do not fill the areas that have to be translucent for LEDs.
Very interesting, do you have some photos or a link to demonstrate this process? I’m really curious in how this looks (from both sides)
https://hackaday.io/project/19996-norman-coordinate
Most acrylic comes with paper backing. You can etch through the paper, spray paint the object, then remove the paper.
It’s *very* easy to do and makes professional looking inlaid graphics.
You can also get a roll of vinyl transfer paper and apply it to wood, etch through the paper, spraypaint – same process applied to wood. The paper also catches all the castoff and smoke from the wood cutting, so using paper makes for a better looking product.
You can use the masking process multiple times with multiple colors. One project used 5 colors to make an etched/colored hand of playing cards (kings, jacks, hearts, spades). Took a lot of care and fiddling, but when it worked it looked great.
Here’s a video of using a laser as @PWalsh describes: https://www.youtube.com/watch?v=xw8DCnuFwkE
It’s not for the impatient especially if you are doing multiple colours. And for no real reason here’s gold leaf on acrylic if you want to be really fancy: https://www.youtube.com/watch?v=U07mw3eQurw
If you’ve a vinyl cutter it’s essentially the same, with the added step of transferring the mask to the acrylic.
What @Thomas Shaddack descibes is known as paint fill, it’s faster but generally only for a single colour. Basically the same as where you engrave metal and fill with wax or paint as seen on machinery etc.
Did this with a sheet of glass for a word clock. The engraving into the glass gave a good diffusing effect too.
Laser also works very well for painted or anodized metal. Infill paint is optional. If you don’t infill, you can clear-coat the whole piece. Looks great.
One caution if you spray-paint through paper or masking tape: The tape must be extremely well adhered to the piece: spray paint loves to wick under it, especially if the painted surface is rough, like a sandtex powdercoat.
I’d recommend doing very fine coats if you don’t want it to wick under.
Maybe you could spray clear first, wait for it to dry, then the colour. That way the clear would do the wicking and seal it at the same time
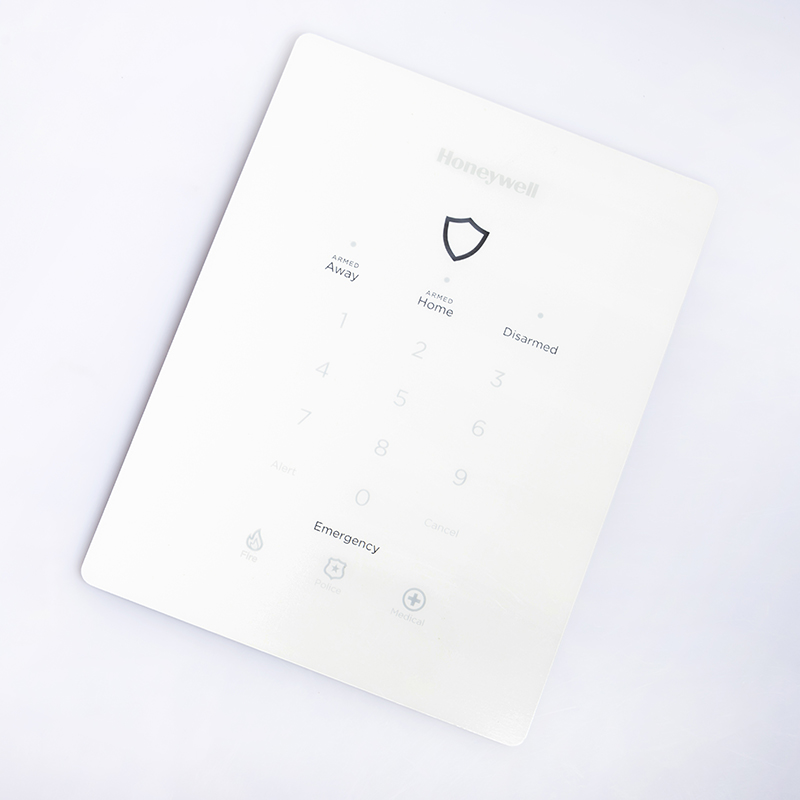
On the displays pictured above, what do the polygons represent?
It is an electronic dice roller, the polygons represent the dice. d20, d12, 2d10, d8, d6, and a d4. The standard for Dungeons & Dragons, and many other games.
I developed a procedure to make professional-looking underlayments using only a printer and a few common hands tools. The procedure, instructions for use, and a few examples are documented here: https://github.com/oelgern/box_underlays/wiki
I’ve only used this for refined-looking prototypes and one-offs, and I’m not sure if it scales up well for making many copies.
The results look really good.
If you can, avoid process colors (Pantone). They cost more. They do provide consistent accurate colors. Ford would want their exact shade of blue on a print, for example. But I doubt a hobbyist really cares.
I think you mean avoid “Spot” colors… Spot colors are special individualized colors (e.g. Pantone). Process colors are usually standard CMYK and are the colors that are “mixed” to process a wide variety of possible colors. (Actually, the inks are generally specially formulated not to actually mix, but the tiny unmixed dots so close together get blended by our vision into the perceived color).
Otherwise, your comment is “spot on” (yeah, I know, bad pun, couldn’t resist).
I’ve had pretty good luck with several different techniques. Access to a good Maker Space can help a lot. I’ve got access to one which has vinyl cutters, a vinyl printer, 3d printers, and several laser cutters (as well as mills, lathes, a CNC mill, etc.).
Laser etched side-lit transparent acrylic or glass can produce some pretty amazing diffusion effects and really provides a high-quality look. Best results are achieved (in my experience) from either layering the back side of one sheet and laminating that to (the front of) another sheet so that the etching is in the middle of the piece or just etching the back of a thicker piece. Laminating can be tricky (any bubbles or imperfections in the adhesive layer stand out like a really sore thumb), so I’ve had best luck with the single-layer approach, but when it’s right, the laminated approach provides an incredible 3d effect and an amazing look.
Translucent acrylic can be panted, laser etched, stenciled (vinyl cutter very handy for this), etc. with some pretty cool results. The paint can provide opaque areas as well as highlighting things like text and symbols. Unmodified and/or etched translucent areas can be good for passing light from LEDs or other indicators. These can even be combined to create custom symbolic illumination and such.
The laser can also put the holes for things like switches exactly where you want them at the exact correct size as well.
Lasers can also be used with a product called “EnduraMark” (I think aka or possibly another brand of a similar product to “CerMark”). There’s also engravable plastic which is basically pre-laminated acrylic with a really thin layer of one color laminated on top of a contrasting color. Engrave off the top layer to reveal the contrasting color.
You can also print/cut what you want on adhesive vinyl and just stick that to your pre-cut panel in some applications.
As I said, many options, these are just some of the easiest ones I’ve used.
A useful tip… I did this a evade or more ago, laser printing on OHP sheets in front of LED or LCD displays.
Please be kind and respectful to help make the comments section excellent. (Comment Policy)
This site uses Akismet to reduce spam. Learn how your comment data is processed.
Embossed Overlays By using our website and services, you expressly agree to the placement of our performance, functionality and advertising cookies. Learn more